
Custom templates
Custom Templates allow you to create reusable task structures tailored to your business. Save commonly used tasks with predefined details such as titles, descriptions, frequencies, and default roles to make creating future tasks quicker and more consistent.
Where to find it
Section titled “Where to find it”Open Templates in the app sidebar → My Templates tab.
Create a custom template
Section titled “Create a custom template”- Open Templates → My Templates tab
- Click Create Template (or edit an existing one)
- Enter a Template Name and optional description
- Assign one or more Template Categories for filtering
- Add Default Role, Est. Time, Frequency and Default Entity.
- Optionally add details under Instructions & Checklist
- Click Create Template
Delete a category
Section titled “Delete a category”Open Manage categories from My Templates or the Template Categories section in the template editor. Click the delete icon beside a saved category, then confirm with Delete category.
Deleting a category removes it from all custom templates in your workspace. The templates and existing tasks are kept. Templates with no remaining categories are still listed under All. Built-in category suggestions remain available.
Edit or delete a template
Section titled “Edit or delete a template”- Open Templates → My Templates
- Click a template card to edit
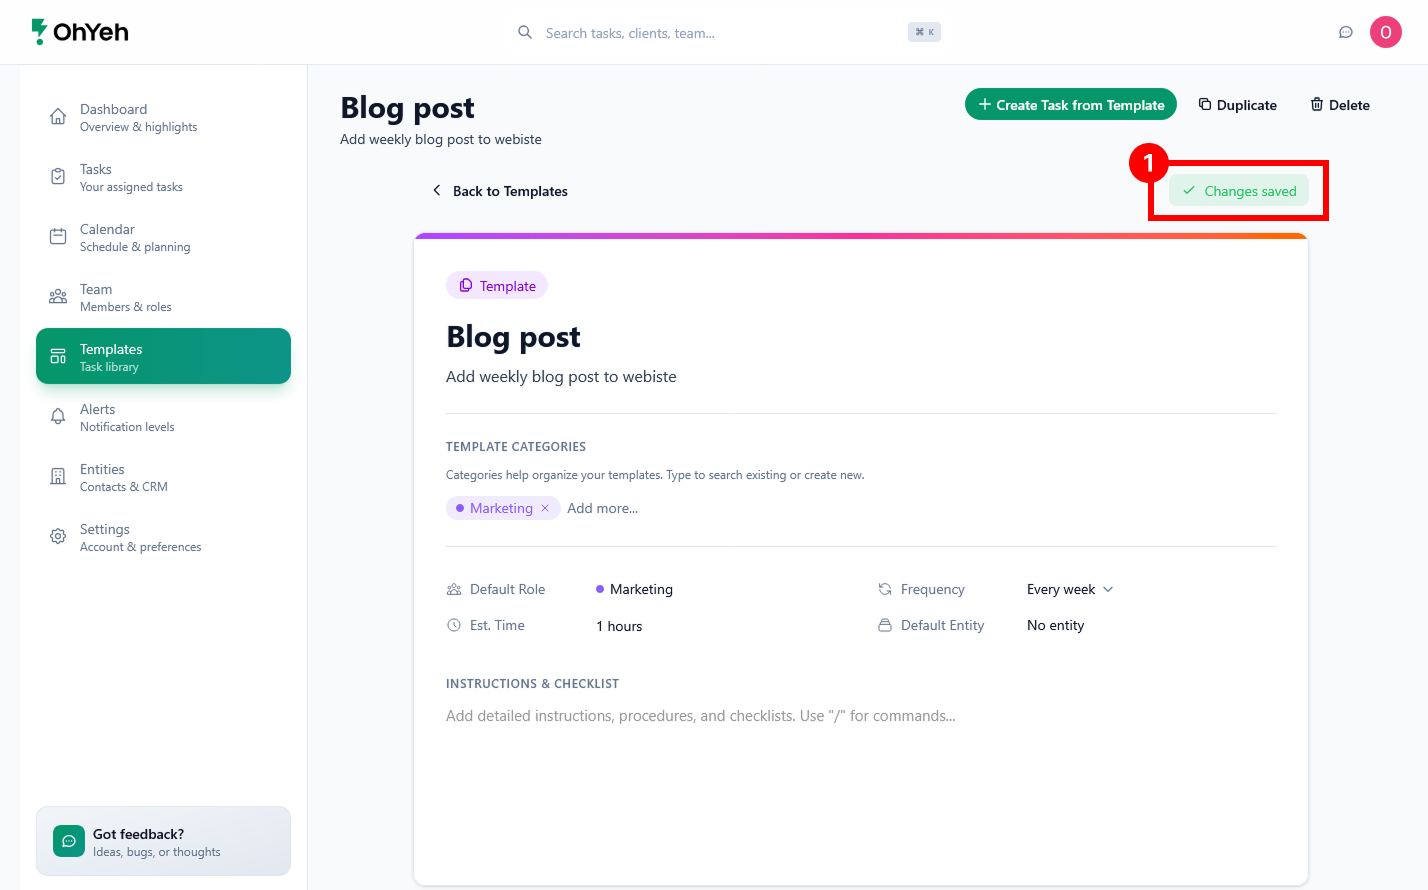
- Make necessary edits to the template. Any changes made will save automatically as indicated by the save status indicator 1
- If you want to remove the template, click Delete (existing tasks are not affected)
Create a task from a custom template
Section titled “Create a task from a custom template”- Open Templates → My Templates
- Click Create Task from Template on a template card. Alternatively you can click Create Task from Template after clicking on the template card itself
- Set task details such as Assignees and Due Date as required
- Click Create Task
See Templates for the pre-made Quick Start Templates library.